How to Add a Custom Font to Squarespace in 3 Easy Steps (updated 2024)

I could bore you with a long intro about how important fonts are, but I’m sure you already know. Let’s just get to it!
This is how you add a custom font to Squarespace!
Step 1: Download your font
First, download the font to your computer. In the screenshot below, I’ve downloaded the Inter font from Google Fonts.
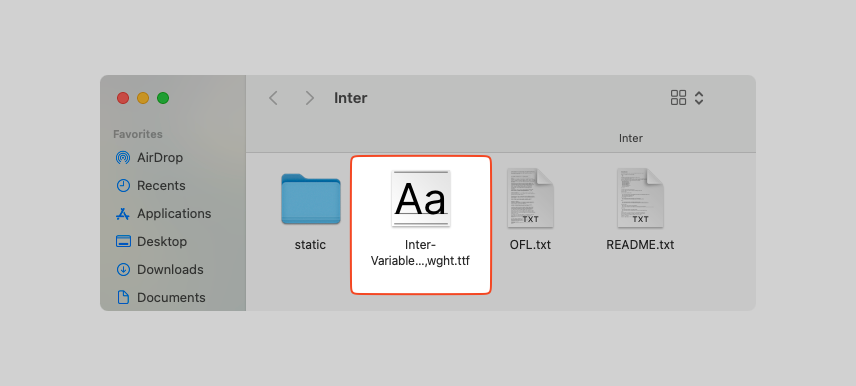
This “.ttf” file is what contains the font you need.
Step 2: Upload your font to Squarespace
Next, upload your font to Squarespace by going to Website -> Website Tools -> Custom CSS -> Custom Files.

For Google Fonts, you only need to upload 1 file. The files inside “static” are not needed.
Step 3: Add the code that tells Squarespace to use your font
Now, you just have to add a bit of code. Here’s what mine ended up looking like.
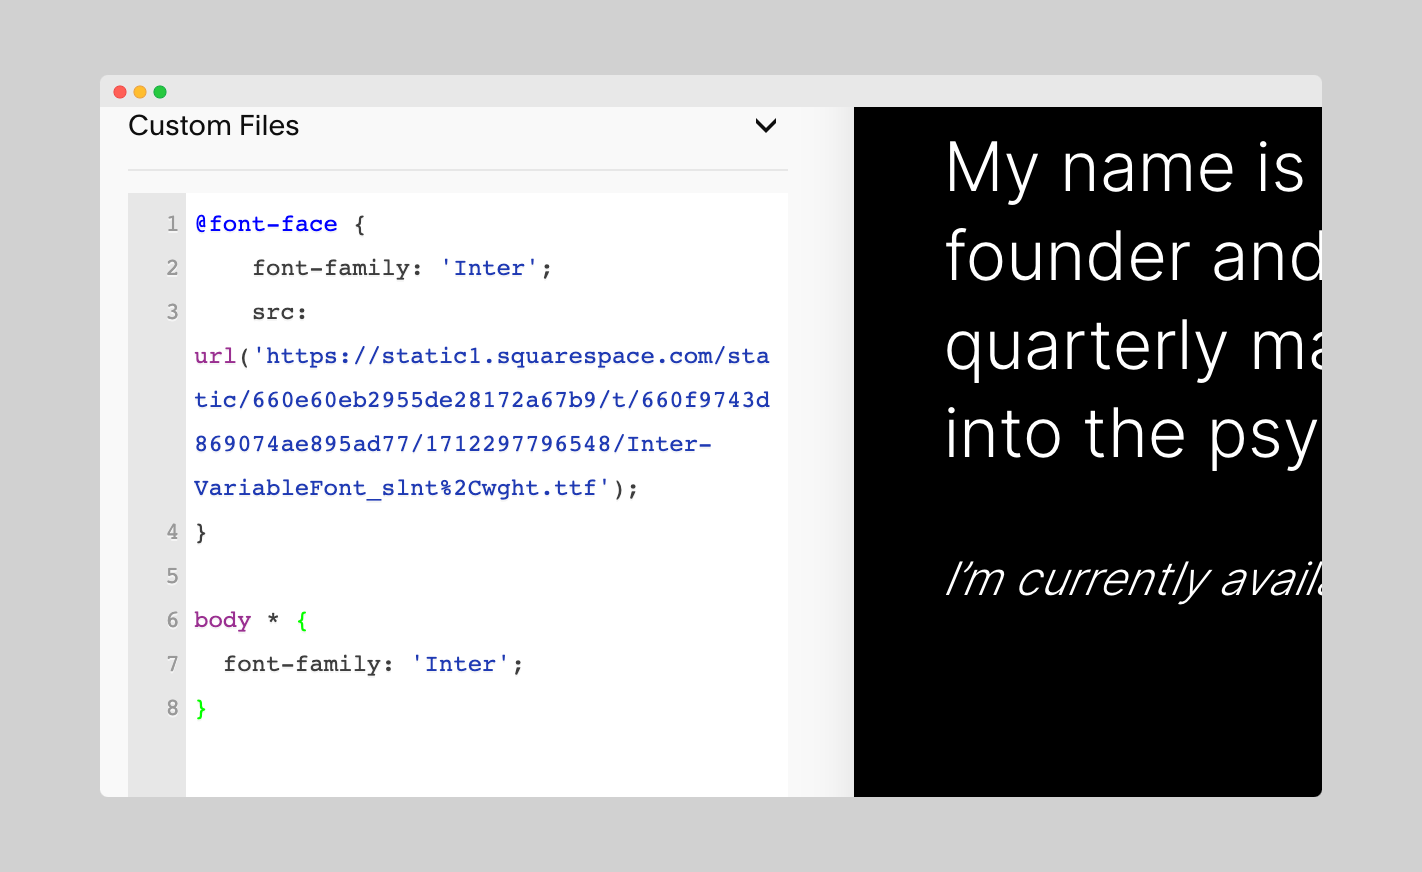
Your code will look slightly different from mine. I’ll walk through it below.
First, you will paste this into your Custom CSS.
@font-face {
  font-family: 'PUT YOUR FONT NAME HERE';
  src: url('PUT YOUR FONT URL HERE');
}
For font-family, you will replace PUT YOUR FONT NAME HERE with the name of your font. Make sure you keep the quotes around the font name!
For src, you can get the url of the font by CLICKING the font in Custom Files, and the url will show up in the text box!
Click the font file to get the url!
And you’ve just installed the font!
All that’s left is to tell Squarespace which parts of your site you want to use your font.
For me, I wanted to make everything on my site use the “Inter” font, so I used this code snippet, which basically says every element inside my body element should use “Inter”.
body * {
  font-family: 'Inter';
}
But it’s up to you! If you only want your largest headings to use it for example, you would do something like this:
h1 {
  font-family: 'Inter';
}
Conclusion
And that’s it! You’re now able to use your custom font however you would like. You can even adjust the size and weights in the Site Styles section of your Squarespace dashboard how you would do with a regularly provided font!

You don’t need Custom CSS to edit the size and weights of your custom font!
Hopefully Squarespace makes this process even easier in the future, but for now, this is the easiest way.
Feel free to comment and reach out if you have any questions, but until then hope you found this post helpful!